What are connections?
A connection is the credential that allows a piece to access an external service on your behalf. When you add an action like Send email (Gmail), Create event (Google Calendar), or Update contact (HubSpot) to a workflow, the piece needs authorization to act on that service. That authorization is stored as a connection. Connections are project-scoped: once created, any workflow in your project can reuse the same connection.Connection credentials are encrypted and stored in the workflow engine. Diga never stores your API keys, OAuth tokens, or passwords.
Authentication types
Different pieces require different types of credentials:| Type | How it works | Examples |
|---|---|---|
| API Key | You paste a secret key from the service’s settings | Cal.com, Airtable, Notion |
| OAuth | You authorize Diga through the service’s own login screen | Gmail, Google Calendar, HubSpot, Slack |
| Basic Auth | Username and password | Custom APIs |
| Custom | Service-specific fields | Varies |
Creating a connection
Connections are created inside the workflow builder when you configure a piece that requires authentication.Add an action that requires authentication
When you add a piece action (for example, Gmail → Send email), the configuration panel will show a Connection field at the top.
Click 'Create connection'
If no connection exists yet for this piece, click Create connection in the dropdown. A dialog will open to set up the credentials.
Provide a name
Give the connection a descriptive name so you can identify it later (for example, “Gmail - Support account” or “HubSpot - Production”).
Authorize the service
Depending on the authentication type:For API Key, Basic Auth, or Custom: enter the credentials directly in the fields provided.For OAuth: click the Connect button. A popup window will open with the service’s authorization screen (for example, Google’s account picker). Log in and grant the requested permissions. Once you authorize, the popup closes automatically and the connection is ready.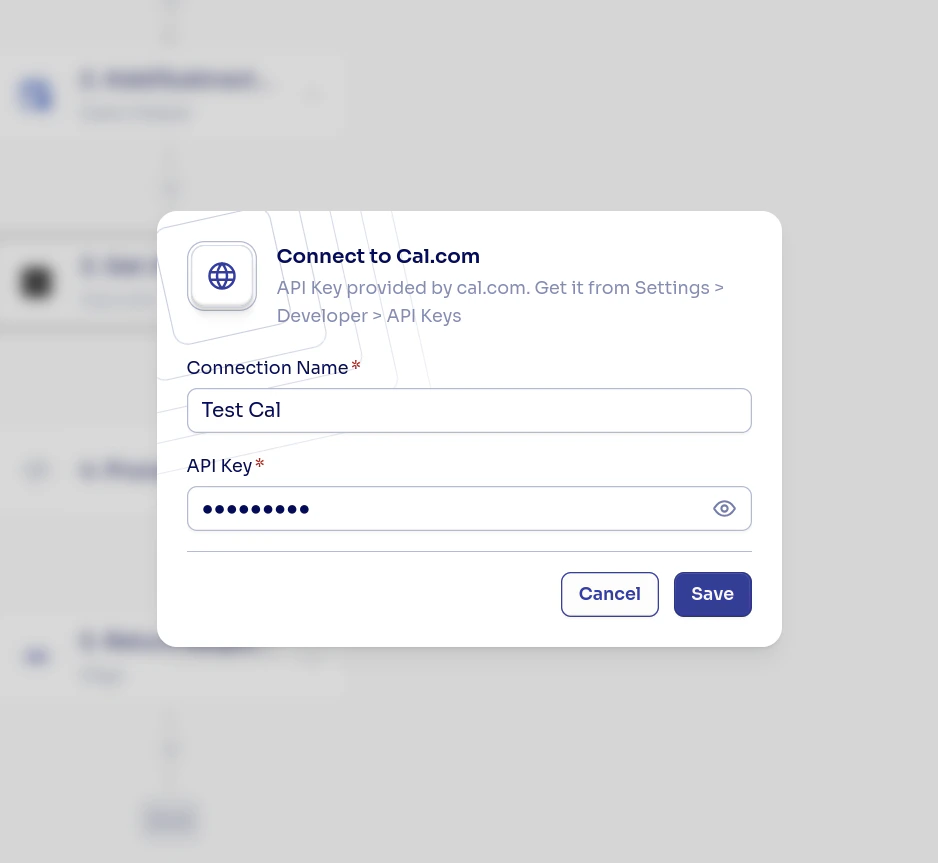
How OAuth works
When you authorize an OAuth connection, the process is:- Diga opens a popup with the service’s consent screen (Google, Slack, HubSpot, etc.)
- You log in and approve the requested permissions
- The service redirects back with a temporary authorization code
- The popup closes and the workflow engine exchanges that code for an access token and refresh token
- The tokens are encrypted and stored. You never need to handle them manually
Reusing connections
After creating a connection, it appears in the Connection dropdown for any action of the same piece. You can use the same Gmail connection across multiple workflows without re-authorizing.Managing connections
You can view and manage all connections in your project from Settings > Project > Connections. From there you can:- See which flows use each connection
- Filter by Active or Inactive status
- Reconnect a connection whose credentials have expired
- Rename connections
Next Steps
Creating workflows
Learn to build workflows step by step.
Workflow templates
Use pre-configured workflows as a starting point.