> ## Documentation Index
> Fetch the complete documentation index at: https://docs.diga.io/llms.txt
> Use this file to discover all available pages before exploring further.
# Creating Workflows
> Step-by-step guide to creating automation workflows in the visual builder
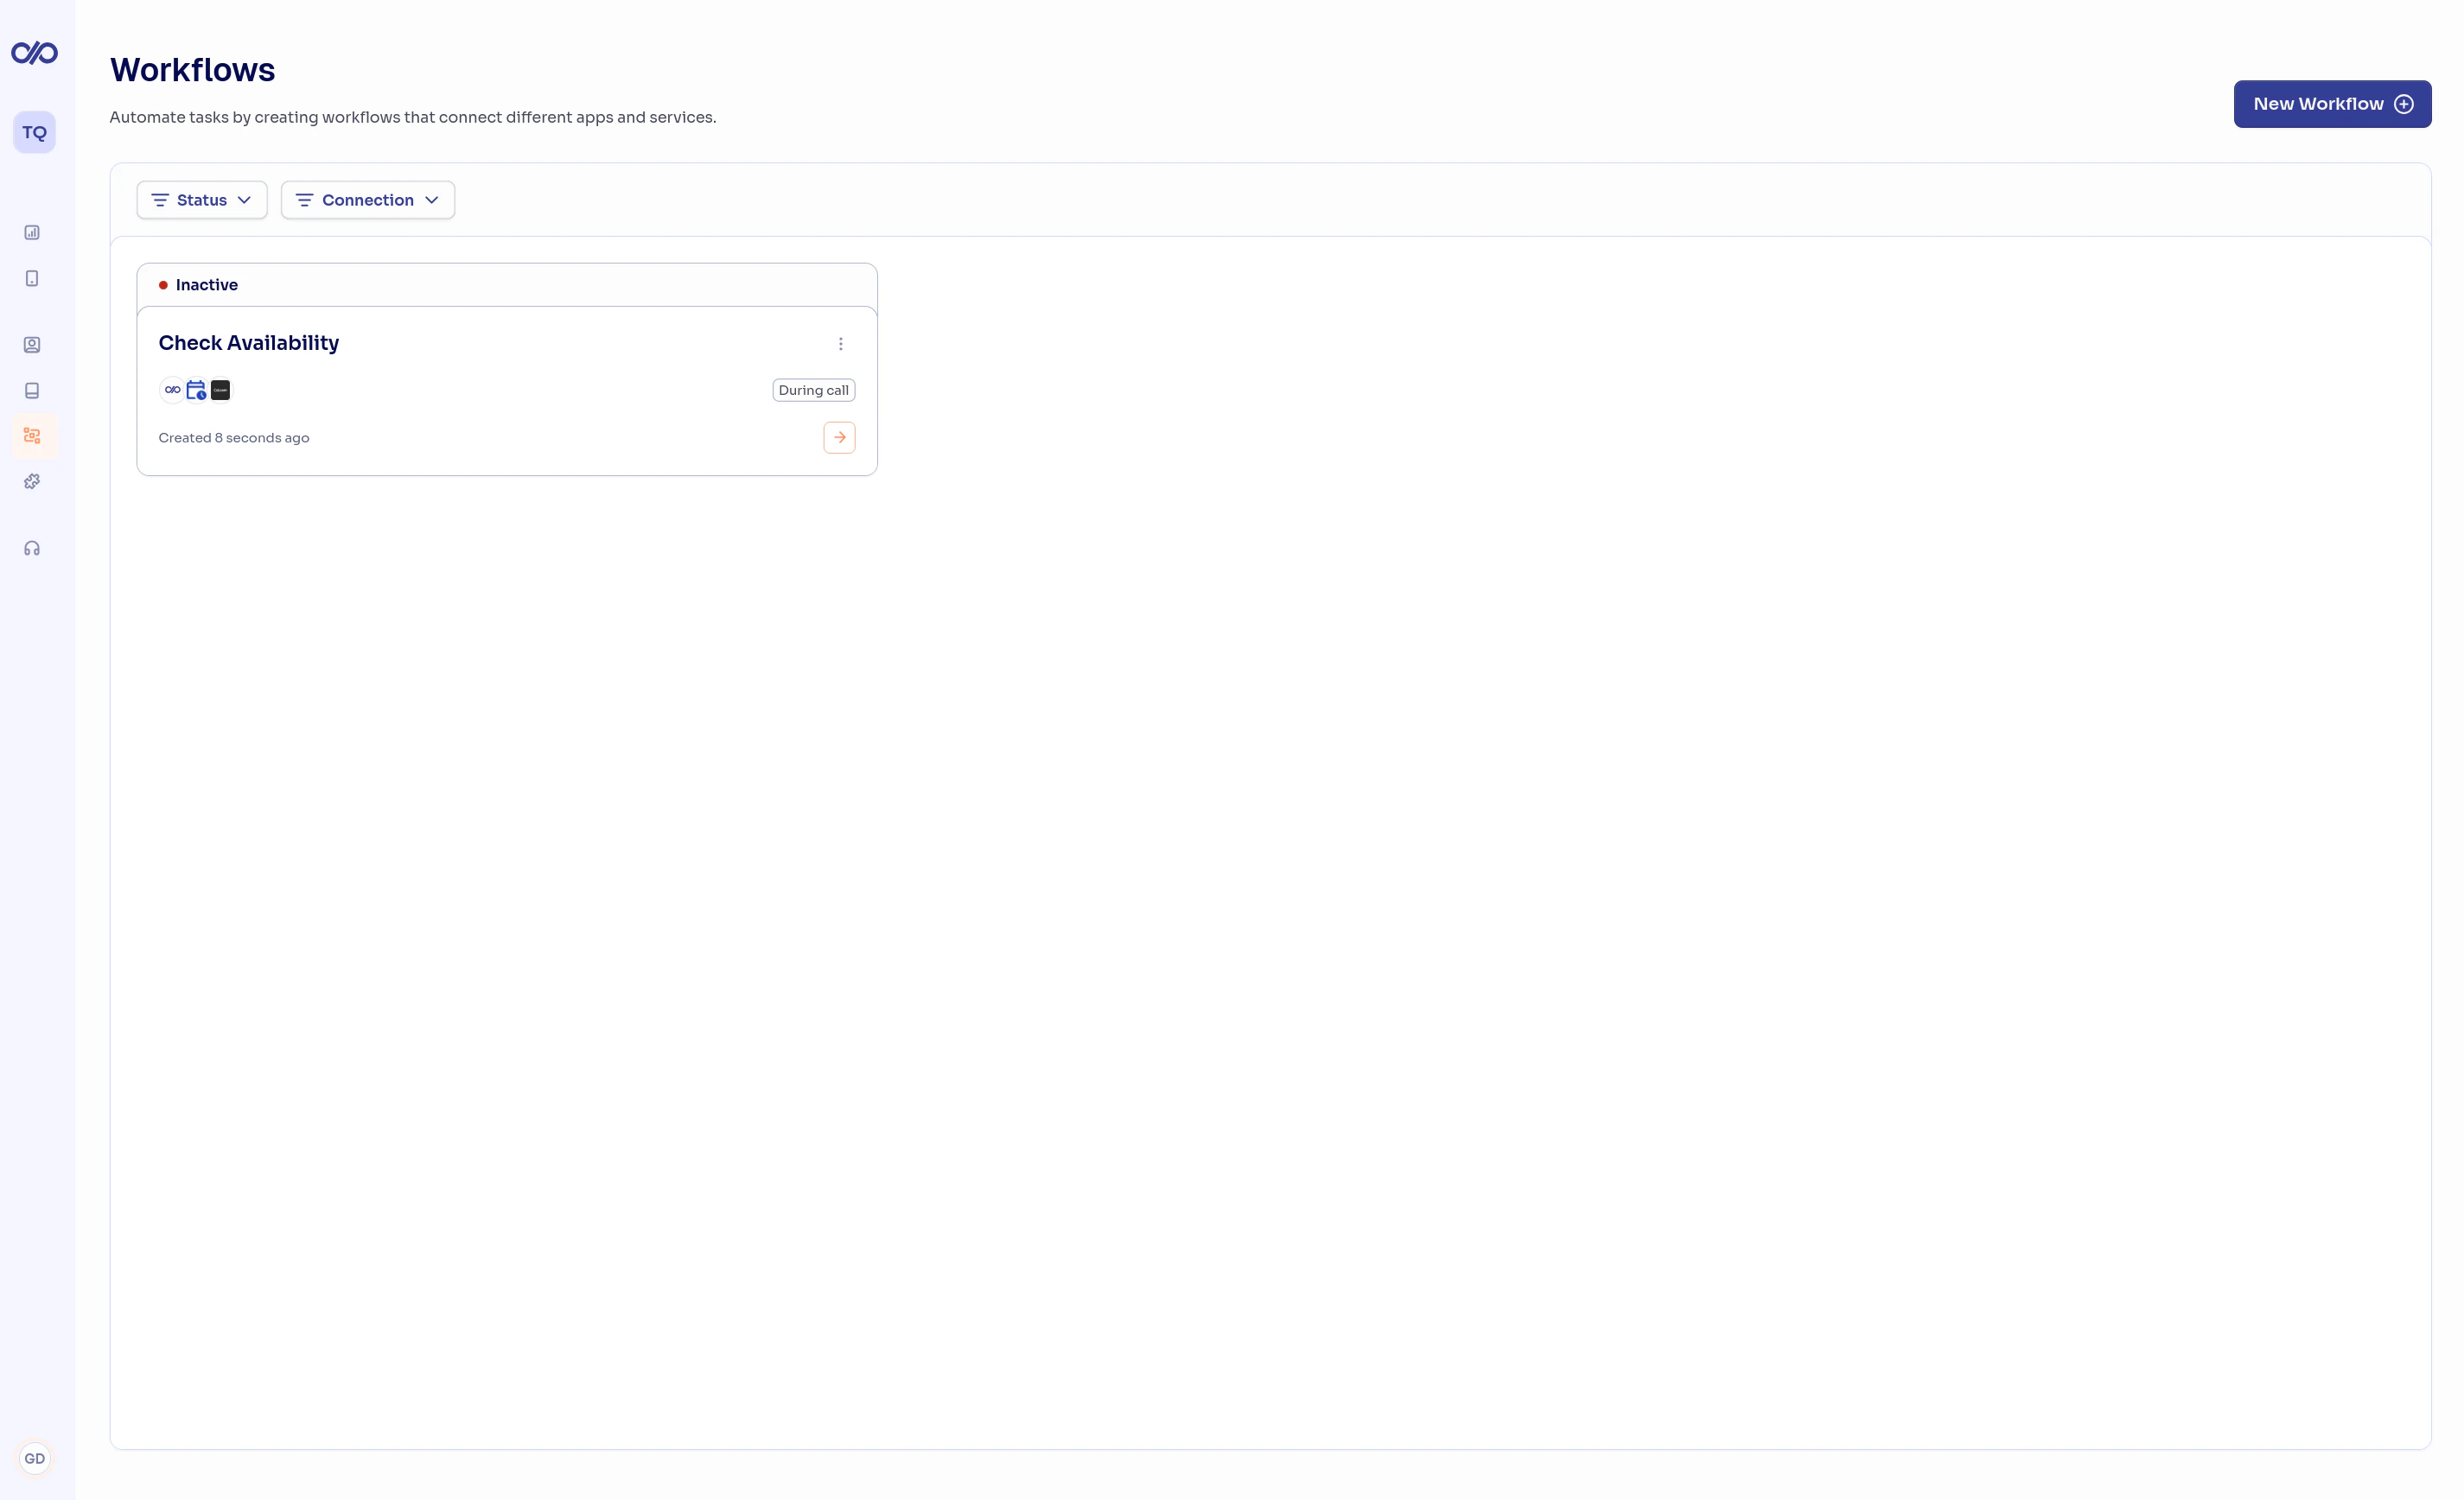
## Accessing Workflows
To start creating workflows, go to the **Workflows** section from the dashboard sidebar. Here you'll see all your existing workflows and can create new ones.
When you click **Create workflow** in the top right corner, a modal will open where you can choose between using a [predefined template](/en/build/flows/templates) or starting from scratch.
 ## Creating a Workflow from Scratch
Click **Create workflow** in the top right corner. A modal will open with the available templates. To start from scratch, click the **Start from scratch** button at the bottom of the modal. The visual builder will open with an empty workflow.
The first step in any workflow is the trigger: the event that starts it. Click the trigger block and select the piece you want to use.
For workflows connected to Diga calls, select the **Diga piece** and choose one of its triggers:
* **Pre-Call** — For [pre-call workflows](/en/build/flows/pre-call-flows) that run before the agent greets
* **Call Finished** — For post-call workflows
* **Function Call** — For during-call workflows
To build a **call launcher** workflow that starts outbound calls, use any external trigger (time schedule, webhook, CRM event, etc.) and then add the Diga **Make Call** action.
## Creating a Workflow from Scratch
Click **Create workflow** in the top right corner. A modal will open with the available templates. To start from scratch, click the **Start from scratch** button at the bottom of the modal. The visual builder will open with an empty workflow.
The first step in any workflow is the trigger: the event that starts it. Click the trigger block and select the piece you want to use.
For workflows connected to Diga calls, select the **Diga piece** and choose one of its triggers:
* **Pre-Call** — For [pre-call workflows](/en/build/flows/pre-call-flows) that run before the agent greets
* **Call Finished** — For post-call workflows
* **Function Call** — For during-call workflows
To build a **call launcher** workflow that starts outbound calls, use any external trigger (time schedule, webhook, CRM event, etc.) and then add the Diga **Make Call** action.
 Each trigger has configuration options. For example, the **Function Call** trigger lets you define:
* When the agent should execute this function (natural language description)
* What parameters to extract from the conversation
* Whether user confirmation is required
See the [Diga Piece](/en/build/flows/diga-piece) for details on each trigger.
Before continuing, test the trigger to generate sample data. This data will be used to configure subsequent steps. Click **Test trigger** and follow the instructions for your trigger type.
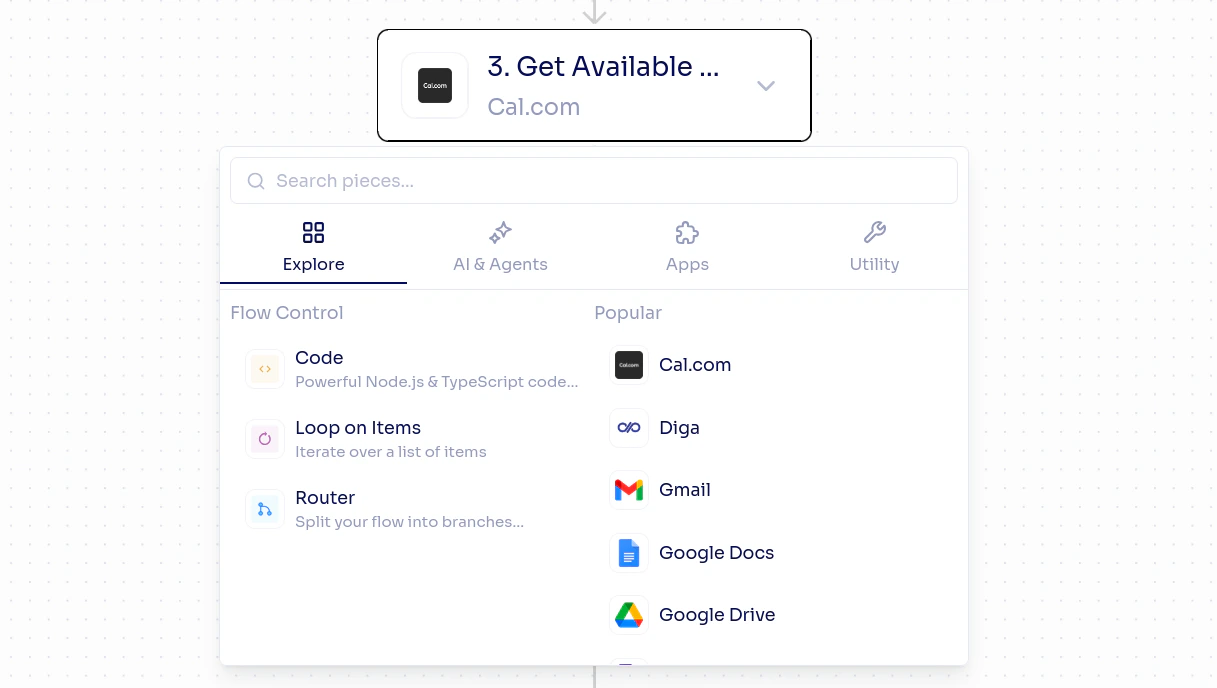
Click the **+** button below the trigger to add actions. Select a piece and the specific action you want to perform.
For example:
* **Google Sheets** → Add row (to log call data)
* **Slack** → Send message (to notify your team)
* **HTTP** → Make request (to call any API)
Each trigger has configuration options. For example, the **Function Call** trigger lets you define:
* When the agent should execute this function (natural language description)
* What parameters to extract from the conversation
* Whether user confirmation is required
See the [Diga Piece](/en/build/flows/diga-piece) for details on each trigger.
Before continuing, test the trigger to generate sample data. This data will be used to configure subsequent steps. Click **Test trigger** and follow the instructions for your trigger type.
Click the **+** button below the trigger to add actions. Select a piece and the specific action you want to perform.
For example:
* **Google Sheets** → Add row (to log call data)
* **Slack** → Send message (to notify your team)
* **HTTP** → Make request (to call any API)
 Each action can use data from previous steps. When configuring a field, click on it to open the **available data** panel. You'll see the output data from all previous steps.
For example, you can insert the call transcription (from the trigger) into the body of an email (in a Gmail action).
Test each step individually to verify data flows correctly before moving to the next one.
When you've finished configuring all actions, click **Publish**. This creates a published version of the workflow that's ready to execute.
## Draft vs Published
Workflows have a versioning system with two states:
The version you're editing. Changes in the draft don't affect the workflow running in production. You can experiment without risk.
The active version that executes when the trigger fires. Once published, this version is frozen.
This means you can keep editing a workflow while the published version continues running normally. When you're satisfied with your changes, publish again to update the active version.
A workflow must be **published** before it can be enabled. If you try to enable a draft-only workflow, it won't activate.
## Enabling and Disabling Workflows
Once published, you can enable or disable a workflow at any time:
* **Enabled**: The workflow executes when the trigger fires
* **Disabled**: The workflow exists but doesn't execute
This is useful for temporarily pausing a workflow without losing its configuration.
## Logic and Flow Control
Beyond linear actions, you can add logic to your workflows:
Add if/else branches to execute different actions based on conditions. For example, send a different email depending on whether the call lasted more or less than 5 minutes.
Iterate over a list of items. Useful when you need to process multiple records, like sending messages to a list of contacts.
Pause workflow execution for a set time. Useful for waiting before executing a follow-up action.
If you need specific logic, you can add a JavaScript/TypeScript code step to transform data or perform custom operations.
## Execution History
Every time a workflow executes, it's recorded in the execution history. From here you can see:
* The status of each execution (successful or failed)
* The input and output data of each step
* The exact time of each execution
* Detailed errors if any step failed
This is very useful for debugging issues and verifying your workflows work correctly.
## Next Steps
Get started quickly with pre-configured workflows.
Connect your workflows with agents so they execute.
Learn about Diga's triggers and actions.
Review the fundamental workflow concepts.
Each action can use data from previous steps. When configuring a field, click on it to open the **available data** panel. You'll see the output data from all previous steps.
For example, you can insert the call transcription (from the trigger) into the body of an email (in a Gmail action).
Test each step individually to verify data flows correctly before moving to the next one.
When you've finished configuring all actions, click **Publish**. This creates a published version of the workflow that's ready to execute.
## Draft vs Published
Workflows have a versioning system with two states:
The version you're editing. Changes in the draft don't affect the workflow running in production. You can experiment without risk.
The active version that executes when the trigger fires. Once published, this version is frozen.
This means you can keep editing a workflow while the published version continues running normally. When you're satisfied with your changes, publish again to update the active version.
A workflow must be **published** before it can be enabled. If you try to enable a draft-only workflow, it won't activate.
## Enabling and Disabling Workflows
Once published, you can enable or disable a workflow at any time:
* **Enabled**: The workflow executes when the trigger fires
* **Disabled**: The workflow exists but doesn't execute
This is useful for temporarily pausing a workflow without losing its configuration.
## Logic and Flow Control
Beyond linear actions, you can add logic to your workflows:
Add if/else branches to execute different actions based on conditions. For example, send a different email depending on whether the call lasted more or less than 5 minutes.
Iterate over a list of items. Useful when you need to process multiple records, like sending messages to a list of contacts.
Pause workflow execution for a set time. Useful for waiting before executing a follow-up action.
If you need specific logic, you can add a JavaScript/TypeScript code step to transform data or perform custom operations.
## Execution History
Every time a workflow executes, it's recorded in the execution history. From here you can see:
* The status of each execution (successful or failed)
* The input and output data of each step
* The exact time of each execution
* Detailed errors if any step failed
This is very useful for debugging issues and verifying your workflows work correctly.
## Next Steps
Get started quickly with pre-configured workflows.
Connect your workflows with agents so they execute.
Learn about Diga's triggers and actions.
Review the fundamental workflow concepts.